DIY: PHOTO BOOTH
Planning an event can be stressful at times, especially when expenses begin to pile up. One way to avoid these obstacles is to incorporate your own DIY (do it yourself) projects. A photo booth is something you might like to have. Having a DIY photo booth at your event is a lot of fun! Not only is it fun to make, but it will be more special knowing that you made it yourself! Follow the steps below and you’ll have your own photo booth in no time.
Materials: Two weighted bases
PVC pipes (quantity and size depends on your preference)
Tape or String
Photo Booth Background
Balloons (Optional)
Step 1: To begin, place your two weighted bases at the location you want your photo booth to be. The height of the bases does not really matter, as you will be able to use PVC pipes as extensions.
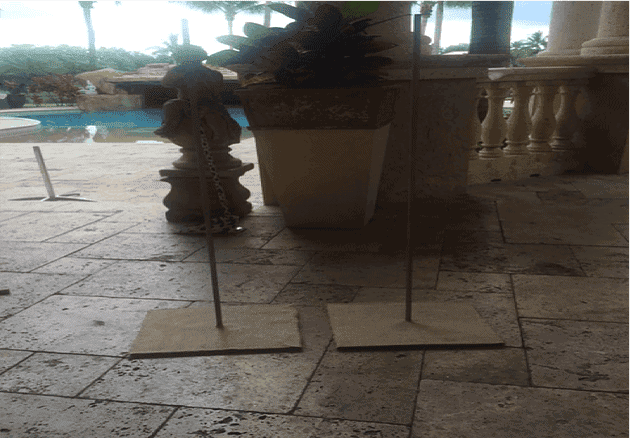
Step 2: Use your PVC pipes to create the outline of the photo booth. These pipes can be found in any home store, such as Home Depot. Here, we used two 8ft PVCs vertically on both sides and across we used three 2ft PVCs. Depending on how you want your photo booth to look, you may want to use either shorter or longer pipes for each dimension.
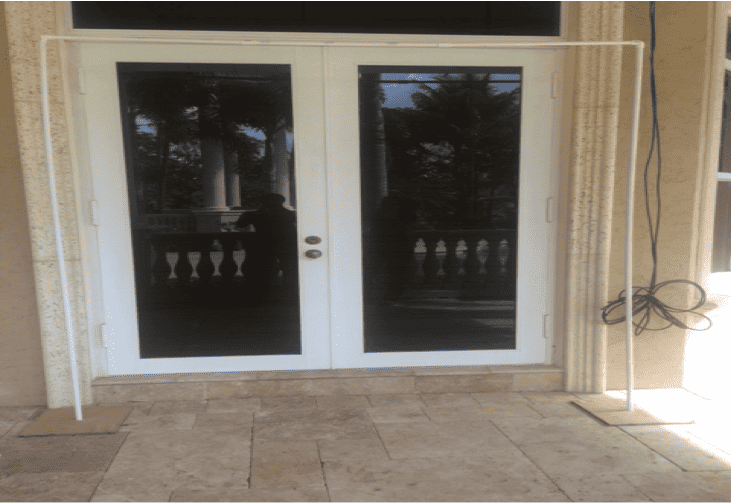
Step 3: In the corner, we used a 90 degree coupling to attach the vertical 8ft PVC to the horizontal 2ft PVC. These were placed at both corners and they can also be found at Home Depot.

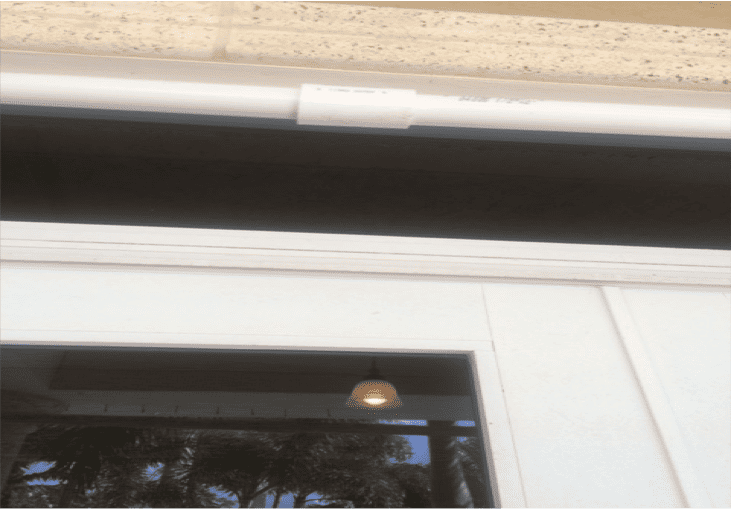
Step 4: To connect the three PVCs across the top, we used two ½ inch connectors.
Step 5: For your photo booth background, you can use any type of background you like. For ours, we used these gold door curtains, which were purchased at Party City. Use tape or string to hang your background on the PVCs going across in your photo booth.

Step 6: You’re photo booth is almost done! After you have finished building your photo booth, you might want to add some decoration at the sides. Here, we used balloons to create a spiral design.
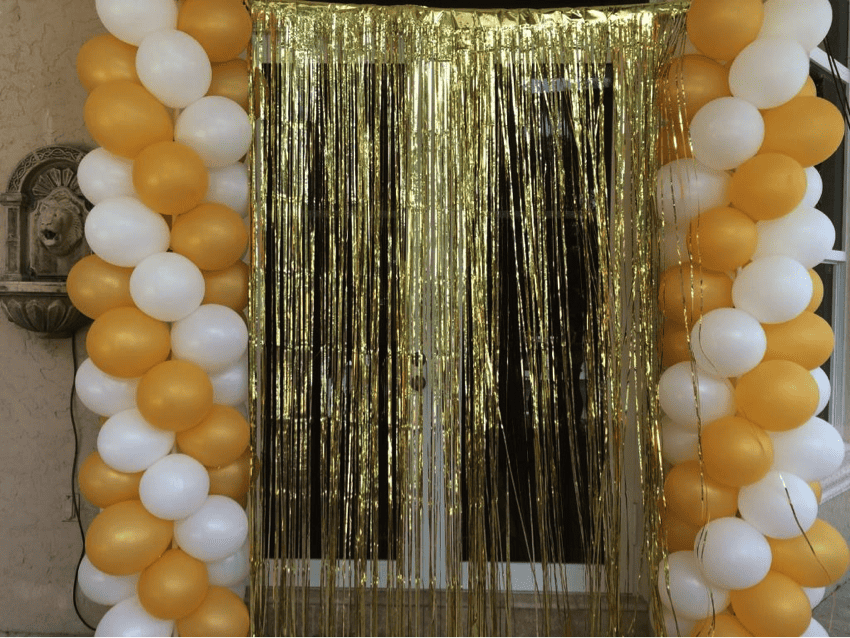
You’re all done! Now you can enjoy your newly made photo booth and encourage your friends and family to try it out!